

Hello there! I would like to tell you a little bit about myself. I have 4 children. 2 boys and 2 girls. Being the middle child can be hard. I wanted to make something special for my daughter Aria who is the 3rd child. Just a little something to let her know she is loved and thought about just as much as the others.

I sat with my supplies and thought what could I make her that she would like and be proud of. I came up with a little name plaque

She can hang it on her wall or the door to her room. I had to use one of my very fav GCD lines "fun house" to create this plaque.

She adores it and proudly shows it off to all her little friends that come to play.
Do you have a little girl or boy who needs something special just because? I created this step by step so you can make your own!
Supplies needed
Strong glue *I use beacon 3 n 1
scissors
pencil
Glitter/stickles
Pop dots
Fun house frames
Fun house Crepe ribbon
Ribbon of your choice
Medium Doily
Chip Art Chipboard alpha
Chip Art chipboard butterfly
Chip Art Chipboard album shape
Chip Art tool and Flower from mini shapes
Fun house paper line:
Under The Big Top
Main Attraction
The worlds Greatest
Shooting Gallery
Sideshow
Assorted garlands
Resin frames

1. Lets get started! Gather your supplies. Choose your background paper. I chose the Shooting Gallery from the fun house line.

2.Take one of the shapes from the album and trace it on the back of the paper you choose. Cut out and glue.


3.I fussy cut the Horse girl from Sideshow and a frame from The World's Greatest. Pop dot horse girl and set aside.


4.I stamped the chipboard butterfly with the flower in the Mini Shapes. I then painted it with some glimmer glam. Pop dot your butterfly. Set aside.
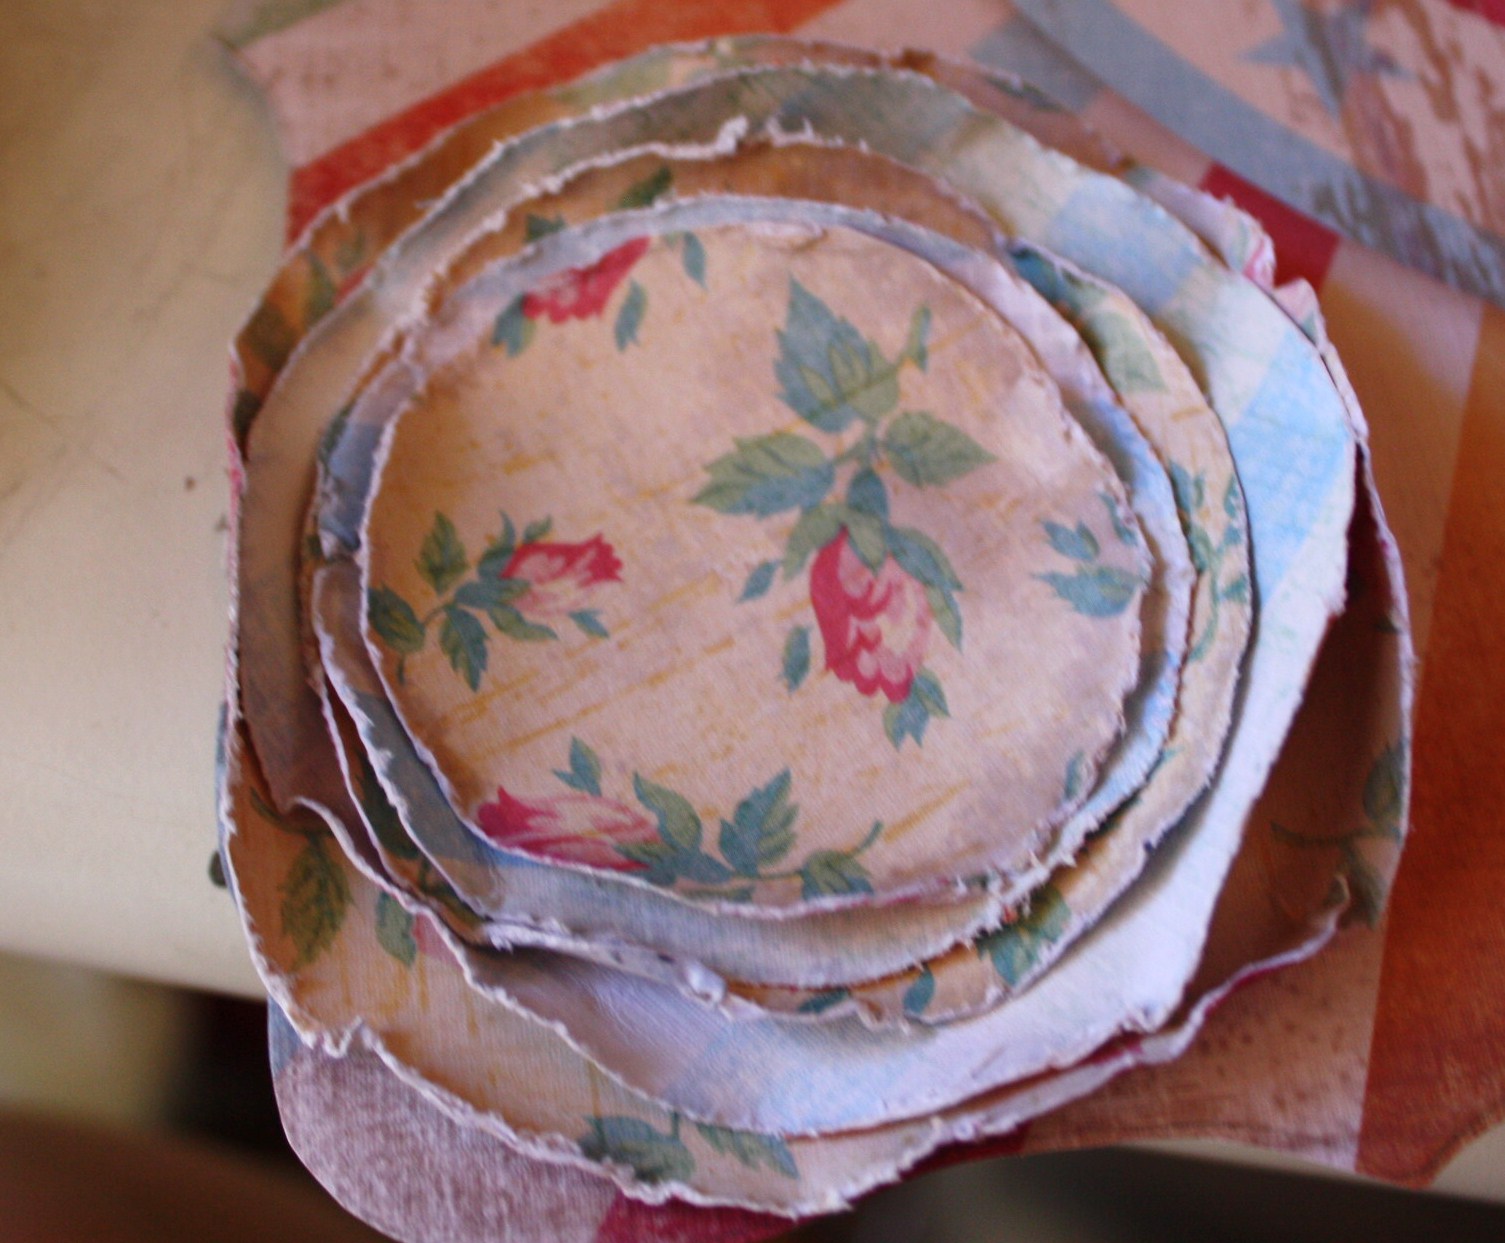
5.To make the flower at the bottom I cut various size circles from The Main Attraction and Under The Big Top papers. Rough the edges and then spray with water. I used my little spray bottle for the Chip Art tools. Curl the edges up, smoosh and push till you get the desired look. Set aside and let dry.


6.Once all your circles are dry I glittered the edges. Set out some white glue and roll the edges in your white glue. For the sparkle I used Mica Snow. Roll the edges in the glitter or mica and let dry.

7.Once they are dry assemble, glue and add your pop dotted butterfly to the middle of your flowers.

8.I cut a doily in half and added that to the bottom back. I also used the crepe paper blue and pink ribbon from Garlands. Adhere about a half inch from the bottom.


9.For the letters I traced all my letters on Shooting Gallery. Then cut out. I didnt use the chipboard under my paper only the paper. *tip* Make sure to trace your letter backwards so when you turn it over it will be the right way. Cut out letters, ink the edges and pop dot.

10.Time to put it all together. I first glued my frame to the back of my horse then glued the horse girl down. I used a pop dot for the flower so it would hold and glued that in the center of the blue crepe ribbon. I also added a resin frame behind the flower to help it flow. Place your letters. I staggered mine so they would fit and it looked more pleasing.
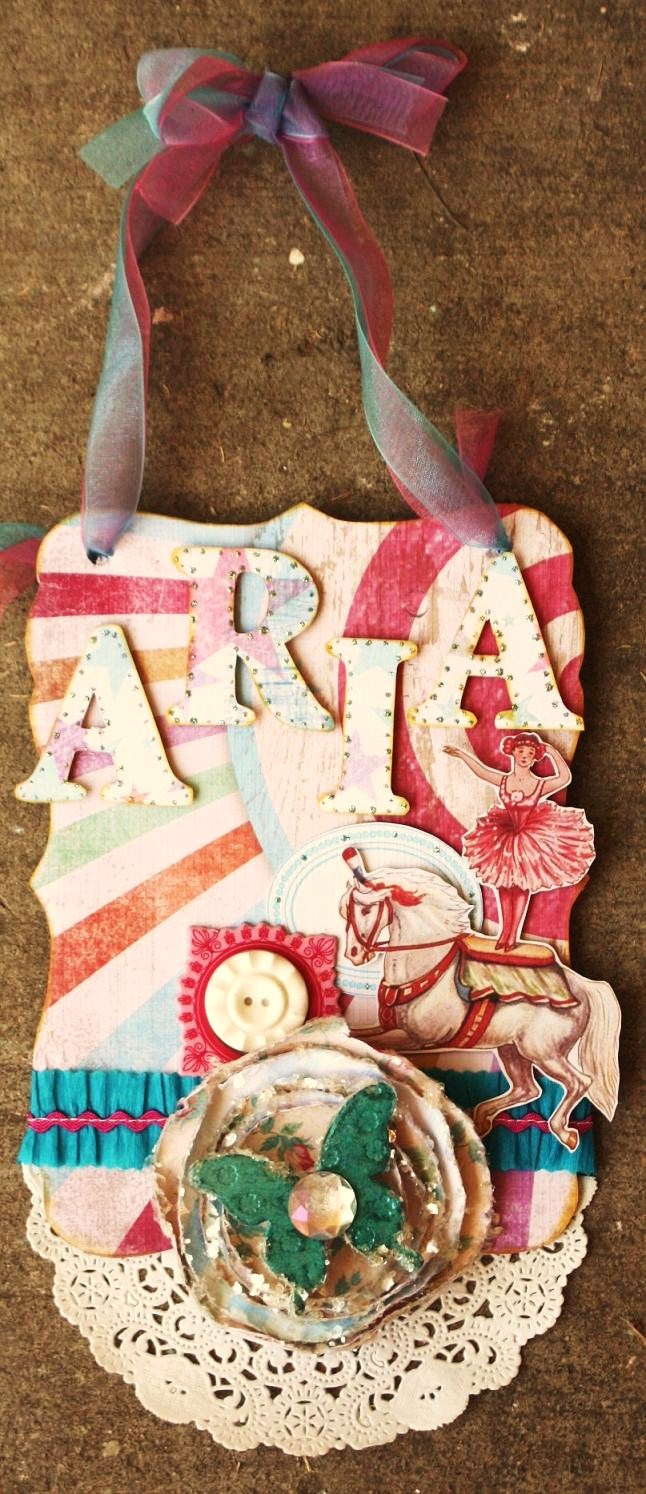
11. Last thing to do is add a little jewel to your butterfly, a button to the frame and your ribbon to hang. Viola you are done! I added a few stickle dots to the letters and my frame. I wanted them to stand out and not get lost with all the patterns.
I hope you enjoyed this tutorial and I would love to see if you made a fun name plaque. Link it up here and I will be sure to check them out!

2 comments:
saw this on the GCD studios blog the other day. Amazing! I love how you used the chip art tool
This is super cute! I especially love the doily on the bottom and the butterfly!
Post a Comment