Showing posts with label gcd. Show all posts

Tuesday, January 3, 2012

Should old acquaintance be forgot


First of all Happy New Year! SOOOOO much to share! Did you have a wonderful holiday? Mine was pretty great. Kids were happy, I was happy, hubby was happy. My sister had a baby! I am a new auntie. I have a job. My family is healthy. My husband loves me to no end and I him. Life is good. I am trying to be MORE positive. See the good.

What was your resolutions? OLW? Mine is enjoy. Enjoy the things I do have. The little things. Life. Just enjoy it all. We only get one life and mine could be over any time. ENJOY!

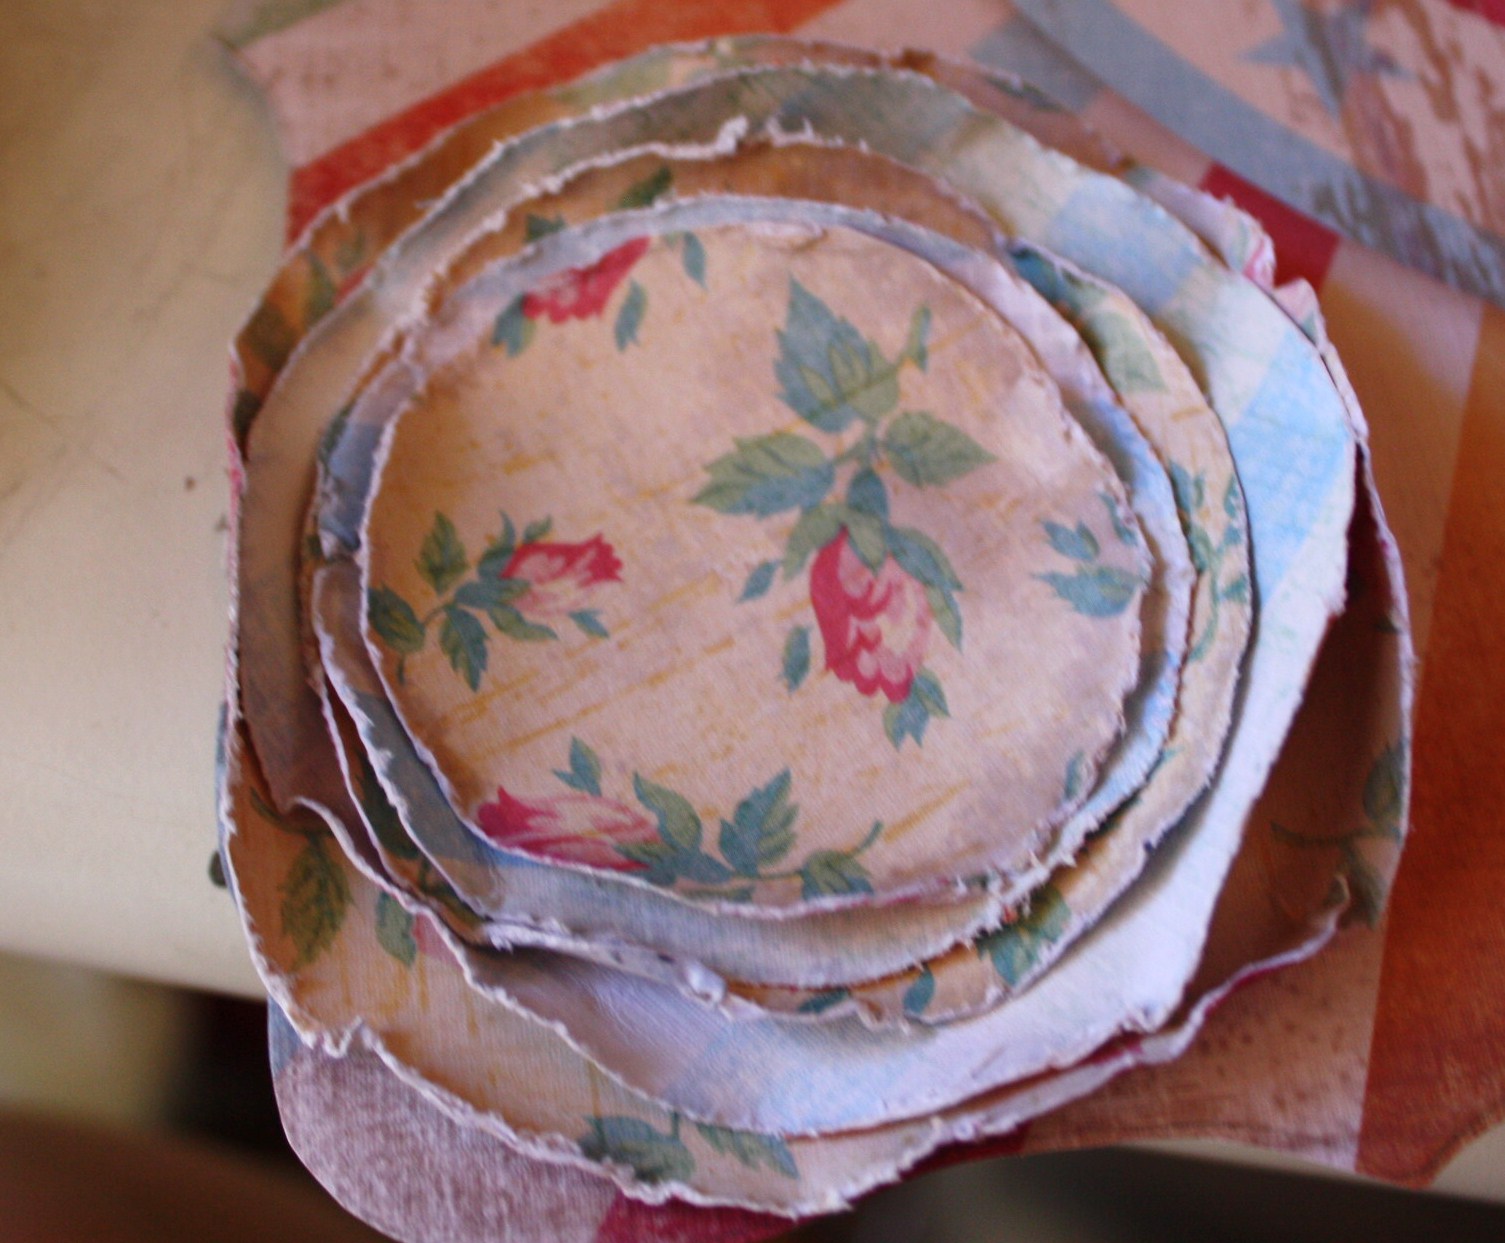
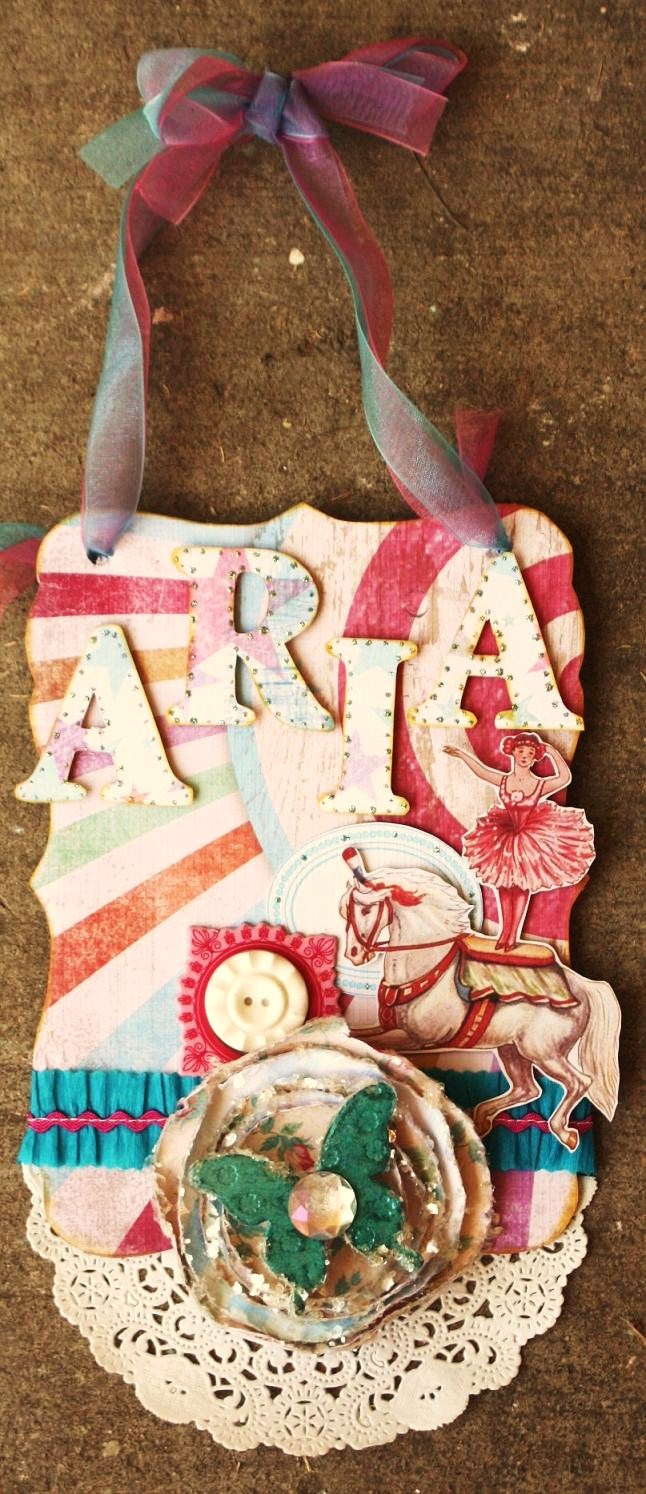
I have a little bit of a sneak for GCD.


Our own Heidi S designed it. If you want the full collection you have to check out the blog on Jan 6th. Believe me it is fabulous!

Ok I know I through a lot at you in a tiny post but I promise I will be back soon with lots more. I am also going to work on my procrastination problem. No more putting off tmw what I could do today. Wish me luck in that! Oh and work has really messed me up. All I wanna do is sit on my couch and do nada when I get home. I am pushing myself to DO more. Wish me luck! :)


♥♥♥

Saturday, October 29, 2011

oct gcd color

One of my very favorite seasons is Fall. I love the falling leaves, all the beautiful colors, the holidays and of course the food! Pumpkin everything, smells that make your mouth water. To showcase your yummy food you should have a beautiful place setting. This inspiration picture is just gorgeous! I mean the colors are not your typical fall colors but they work for fall sooo well! Wouldnt you agree! I love these colors so very much.

I knew I needed to use a white background for these beautiful colors so they would pop even more off the page.

When I think of fall I think of family, friends, and all the pictures I take. I never get a chance to take one of myself. Thank goodness there are other photographers in the family.


This picture captures ME. I always have the camera in my hand. I am always trying to capture everyone else in their element. I am so glad someone captured me in mine.

Used lots of Donna Salzar and the twine is from Divine Twine, Whisker Graphics.


Thursday, September 15, 2011

This melody was meant for you


Fall is almost here and I cant wait! I love fall. The weather, colors and activities. For my color inspiration I picked this beautiful pallet.

It is simply gorgeous. It reminds me of leaves on the trees as they are changing from green to yellow. The streets get piled with them and my kids and I love taking walks during that time.

A while back my sister and her husband stopped to smell the roses. It was such a sweet moment. So candid, so beautiful, I of course snapped away.

I adore this little bird. I have used her on a few creations. She is just so sweet.

The greens, yellows, and greys really compliment the photo.
My sister looks so beautiful in her dress. I wanted to make a page that was almost as beautiful as she was. These papers helped me do that. (FYI the sunflower doily is from the dollar tree.)


♥♥♥

Monday, September 12, 2011

What goes around comes back around

Check out the amazing September kit of the month GCD put together!

You could win this awesome kit...Here are the details.

I hope you love this months kit as much as we do! It's packed with school themed papers and happy bright fall embellishments. To enter into this contest, simple create a back to school project. It can be a layout, card or even a gift for a teacher. Please use 50% of GCD Studios product to enter. Then email your project to me at Hsonboul@gcdstudios.com by Sept 26th 2011.

The top 3 projects will be posted here and the voting beings (just like last time :). The winner will have the kit of the month sent to her or him and will be featured in our next months news letter. If you haven't signed up for the newsletter, you should! It is packed full of creative ideas and art. To sign up for the newsletter simply contact us at Inthestudio@gcdstudios.com

Good luck everyone.

♥♥♥

Friday, August 26, 2011

I heard that your dreams came true


Hello there! I would like to tell you a little bit about myself. I have 4 children. 2 boys and 2 girls. Being the middle child can be hard. I wanted to make something special for my daughter Aria who is the 3rd child. Just a little something to let her know she is loved and thought about just as much as the others.


I sat with my supplies and thought what could I make her that she would like and be proud of. I came up with a little name plaque

She can hang it on her wall or the door to her room. I had to use one of my very fav GCD lines "fun house" to create this plaque.

She adores it and proudly shows it off to all her little friends that come to play.

Do you have a little girl or boy who needs something special just because? I created this step by step so you can make your own!

Supplies needed
Strong glue *I use beacon 3 n 1
scissors
pencil
Glitter/stickles
Pop dots
Fun house frames
Fun house Crepe ribbon
Ribbon of your choice
Medium Doily
Chip Art Chipboard alpha
Chip Art chipboard butterfly
Chip Art Chipboard album shape
Chip Art tool and Flower from mini shapes
Fun house paper line:
Under The Big Top
Main Attraction
The worlds Greatest
Shooting Gallery
Sideshow
Assorted garlands
Resin frames


1. Lets get started! Gather your supplies. Choose your background paper. I chose the Shooting Gallery from the fun house line.


2.Take one of the shapes from the album and trace it on the back of the paper you choose. Cut out and glue.


3.I fussy cut the Horse girl from Sideshow and a frame from The World's Greatest. Pop dot horse girl and set aside.


4.I stamped the chipboard butterfly with the flower in the Mini Shapes. I then painted it with some glimmer glam. Pop dot your butterfly. Set aside.


5.To make the flower at the bottom I cut various size circles from The Main Attraction and Under The Big Top papers. Rough the edges and then spray with water. I used my little spray bottle for the Chip Art tools. Curl the edges up, smoosh and push till you get the desired look. Set aside and let dry.


6.Once all your circles are dry I glittered the edges. Set out some white glue and roll the edges in your white glue. For the sparkle I used Mica Snow. Roll the edges in the glitter or mica and let dry.


7.Once they are dry assemble, glue and add your pop dotted butterfly to the middle of your flowers.


8.I cut a doily in half and added that to the bottom back. I also used the crepe paper blue and pink ribbon from Garlands. Adhere about a half inch from the bottom.


9.For the letters I traced all my letters on Shooting Gallery. Then cut out. I didnt use the chipboard under my paper only the paper. *tip* Make sure to trace your letter backwards so when you turn it over it will be the right way. Cut out letters, ink the edges and pop dot.


10.Time to put it all together. I first glued my frame to the back of my horse then glued the horse girl down. I used a pop dot for the flower so it would hold and glued that in the center of the blue crepe ribbon. I also added a resin frame behind the flower to help it flow. Place your letters. I staggered mine so they would fit and it looked more pleasing.


11. Last thing to do is add a little jewel to your butterfly, a button to the frame and your ribbon to hang. Viola you are done! I added a few stickle dots to the letters and my frame. I wanted them to stand out and not get lost with all the patterns.

I hope you enjoyed this tutorial and I would love to see if you made a fun name plaque. Link it up here and I will be sure to check them out!
Photobucket


Wednesday, August 3, 2011

Party rockin in the house tonight


As the last days of summer fast approach we try to hang on to them as tightly as we can. The colors of these canisters remind me of the last bits of summer. Bright, cheery and relaxing.

The end of summer means the end of dandilions and making wishes. Why not hold on to those last moments of summer with a scrapbook page.


The beautiful bright colors in Homespun chic went perfectly with this last day of summer layout.

I dont know what Aria wished for but I would like to think it is for a few more days of summer.

♥♥♥

Wednesday, July 27, 2011

Strawbah bah bah bababerry

Summer is here! One day it was cool the next it was a scorcher! It came like a thief in the night, literally! We cool off in the summer by splashing in the pool, throwing water balloons and eating fresh fruit. Yep that's right. Fresh watermelon and strawberries are the best.


I took this picture of my cousin not to long ago. I couldn't wait to scrap it. To me it screams summer. Her beautiful golden hair and that bright red strawberry. Perfect summer photo.

I used GCD's Melody ross line homespun chic-applique. I cut out the sweet birds and flowers to add to my white cardstock. I also punched scalloped circles to go under my title.


I love adding texture and dimension to my pages. I achieved the dimension by pop dotting the flowers and bird. The sewing around the page and under the title adds the texture I love.


The Layered frames also from Homespun adds even more depth to the layout. They are simply beautiful and set off the picture nicely.


Homespun Chic is so feminine and bright. It works for every season.

Make sure to stay cool and try some nice cool fruit to kick off the summer.
♥♥♥

Sunday, July 24, 2011

Stoplights Are Swaying And The Phone Lines Are Down

Hi there! I would love to share with you my gcd creations. I am always so inspired by the internet. Honestly don't know what I would do without it. This photo of all these lovely dresses inspired me sooo much. The colors are simply to die for.

I wish my closet looked like this! Oh the ruffles, the sparkle and lace! *swoon*

One of my guilty pleasures on the internet is Pinterest. The abundance of inspiration on that board...Well if you are on there I don't have to tell you and if you're not, you need to be! My technique came from pinterest and I knew I had to try it out. Lets get started shall we?

supplies
scissors
new pencils with new erasers
inks or paints (colors of your choice)
cardstock
glue
*circle templates (more about this in the post)
patterned paper
*embroidery thread
*embroidery needle
(*optional)


1. Gather your supplies. I like to have everything on hand. I chose to have my polka dots in groups of bubbles. If you would like to do the same you need different size circle templates. I used things I had laying around the house.


2. I used white cardstock for my background (one of my inspiration colors). A light color will show your polka dots the best. I then traced my templates.(Make sure to trace lightly so you can erase after.) I wanted various sizes and staggered them.


3. Now it is time to have your fun. I only used one pencil to make all my dots. If you do this make sure to have a scrap paper that you can clean your eraser before heading to your next ink color. Go to town! There is no rhyme or reason to this. I even over lapped some of my dots. You want a very random look to it.


4.For my center circle I wanted to break up all the polka dots so I chose to fill it with patterned paper. I used the same template to trace my circle, cut it and glued.


5. To me the bubbles weren't emphasized enough so I decided to add a little dimension and texture by stitching around all the bubbles. The lines your drew really come in handy now. Just poke holes following your lines and you will have your sewing template. ( If you want the same look I have here is a tip. Make sure you come up through your second hole and go down through your first. Working backwards.)


6.Now all that is left to do is add your personal touches. Pictures, embellishments, title and journaling. Hope you had fun with this technique.
♥♥♥